Collection Guide
Creating a Collection is an artistic endeavor that takes a bit of planning. This guide provides tips to streamline the process. Technical specifications and instructions are available when you Add a Collection.
Step 1: Gather Photos
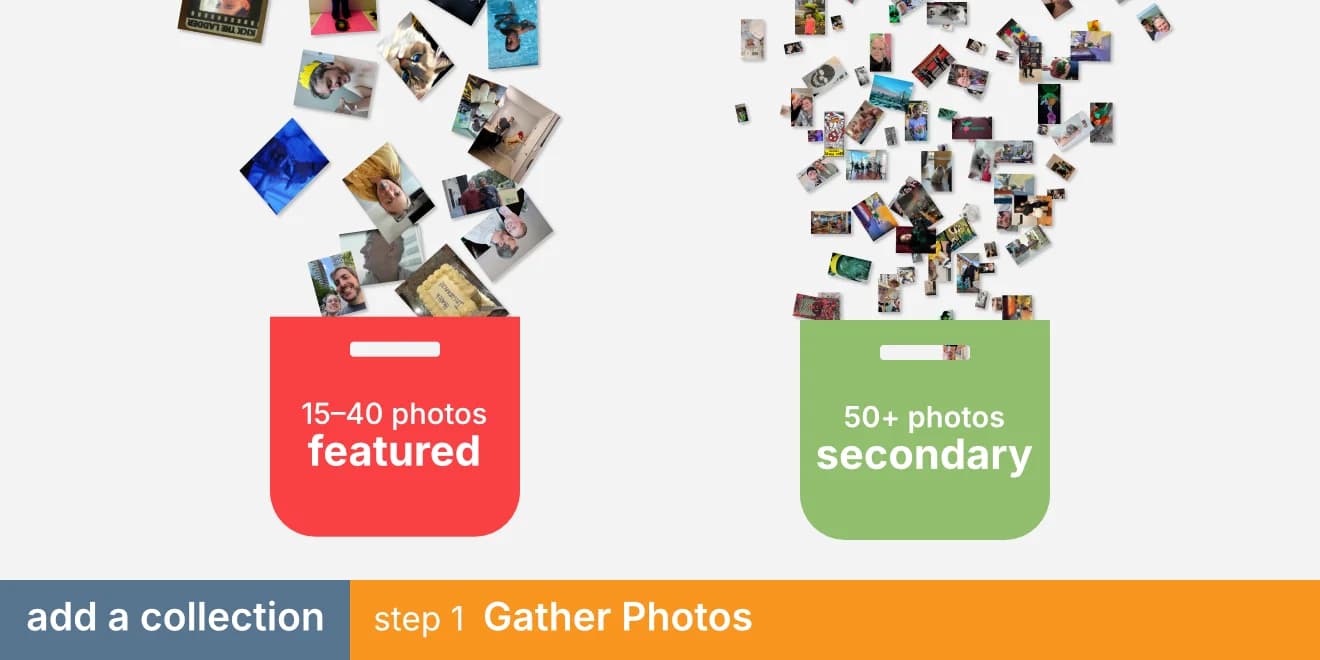
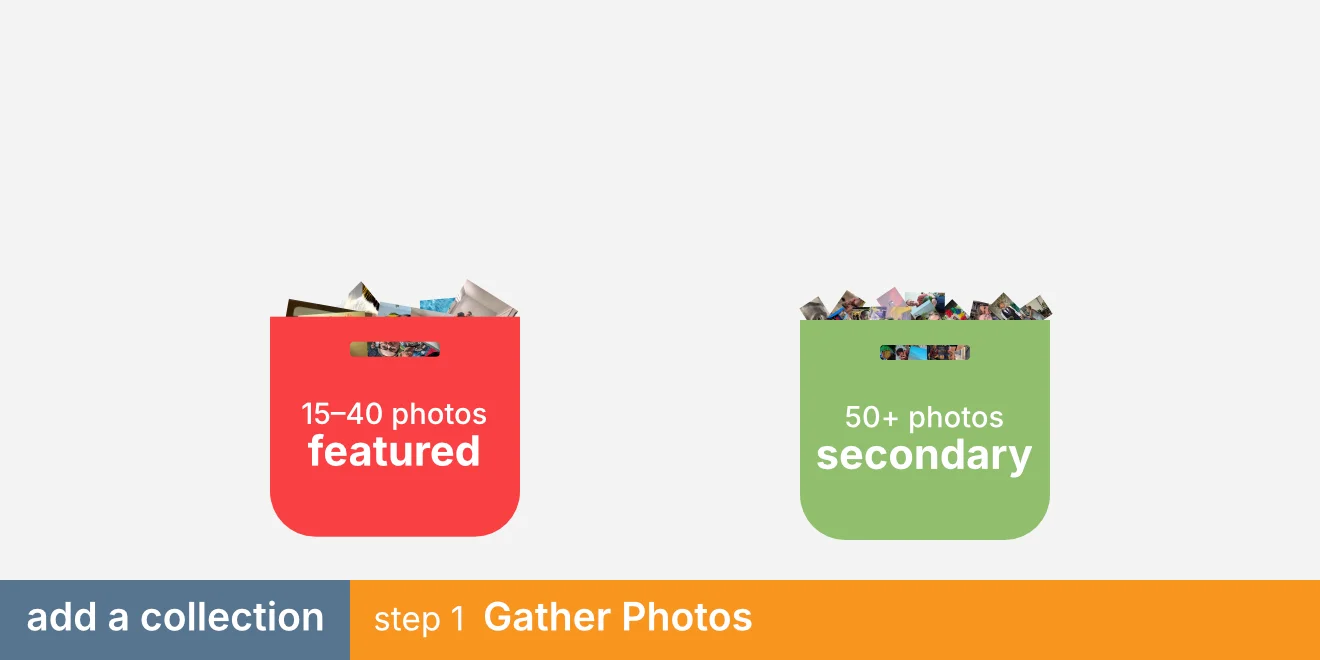
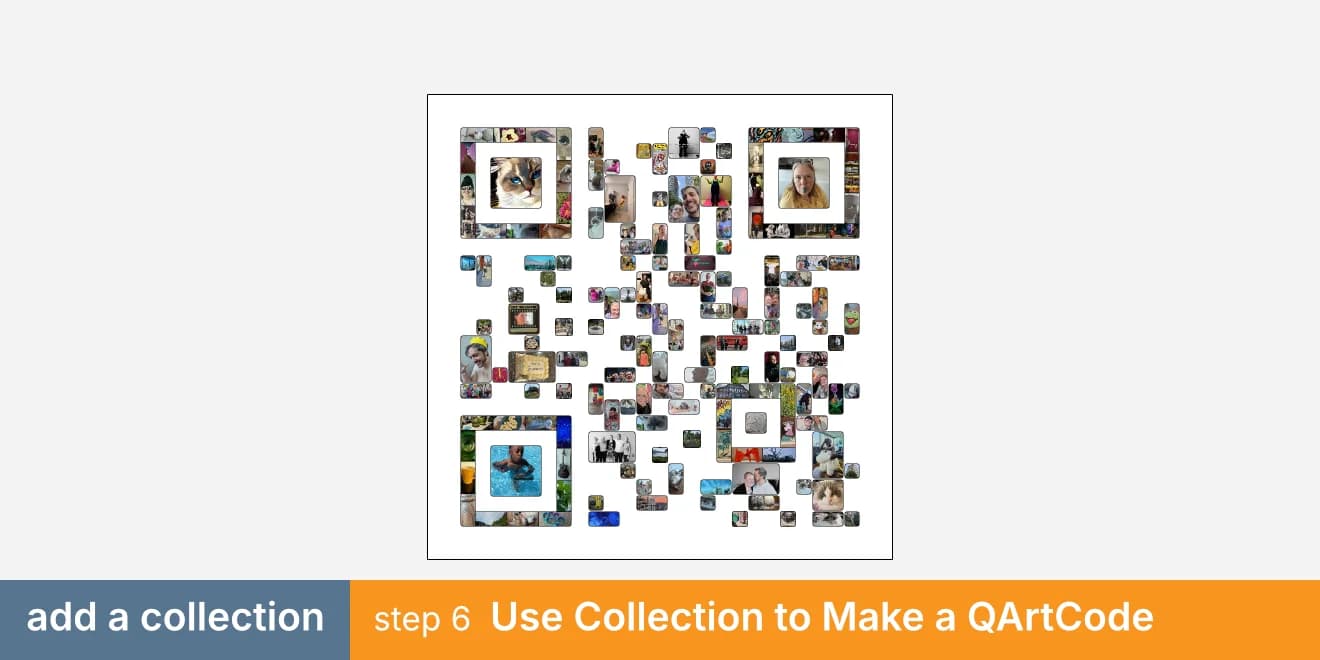
A QArtCode is made of many images (100+). That's a feature, not a bug. While some images are large enough to be seen at a distance, many require coming closer. The closer you look, the more you see. The fun is in perusing all those images and seeing what you find. You will probably want 30+ primary images that will show up prominently and 70+ secondary ones. That may seem like a large number... but how many photos are on your phone?
With that in mind, start thinking about which kind of photos you want to include: pictures of the kids, wedding photos, vacation photos, pets, favorite foods, etc. Some categories may be central to your collection but only provide a fraction of the images you need. Once you have some in mind, you can start adding them.
Step 2: Corner Patterns
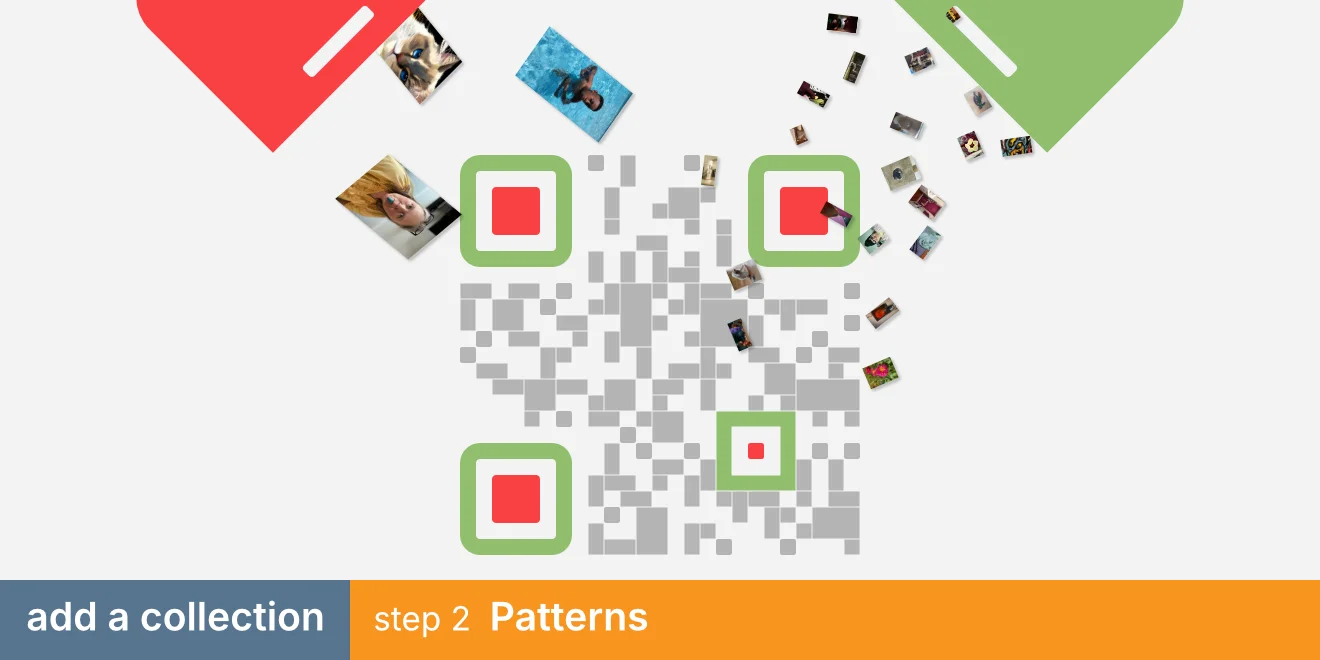
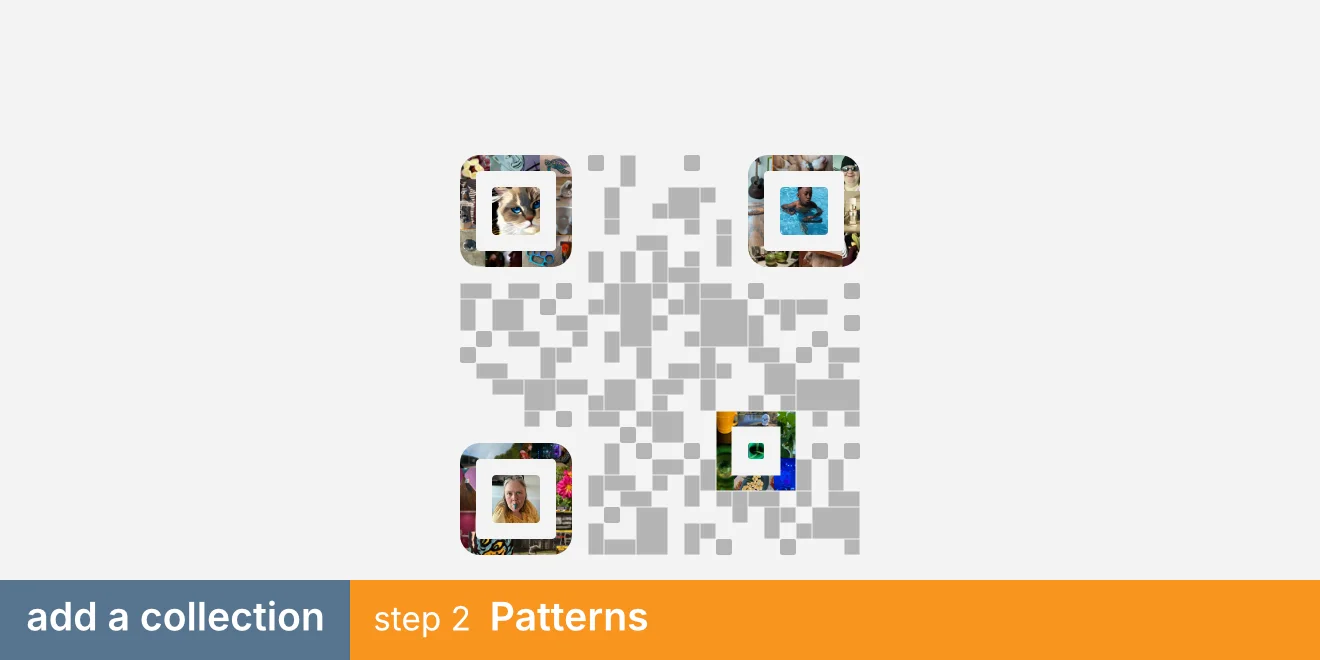
Start with the three corner patterns. Their interiors are the most prominent images in the final QArtCode. Select these images strategically; for example, give each child their own corner. Then, work on the borders. You can either fill them with multiple images or use a single image with its center cropped out. The multiple-image approach is ideal for creating a meaningful cluster, like a child surrounded by their favorite toys. Below, Darth Vader is surrounded by other iconic movie images. The single-image approach places more emphasis on the central image. Below, the cute bear is surrounded by a matching background. For a single-image border, images without a central subject—like a forest, a crowded stadium, or a pattern of Legos—work best.

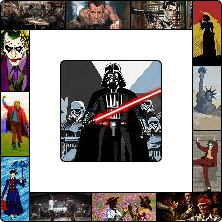
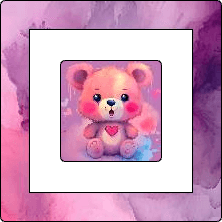
For a multiple-images border, you can choose whether to place 2, 3, or 4 images per side (Darth Vader above has 3 images per side, 12 in total). While the interior image is cropped to be square, the border images will be cropped to be wide or tall; gather equal amounts of wide and tall images that complement the interior image.
Picking those 3 images and their respective borders can be challenging. If you are stuck, save "as is" and revisit later.
Step 3: Big Pieces
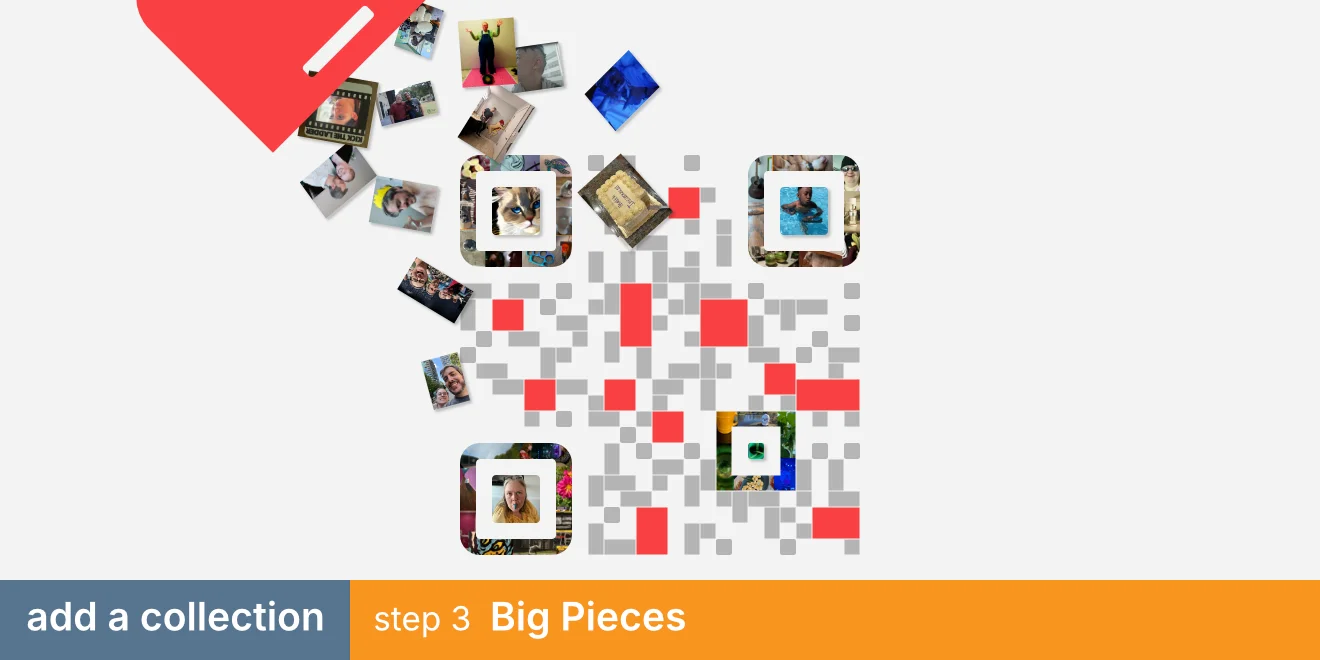
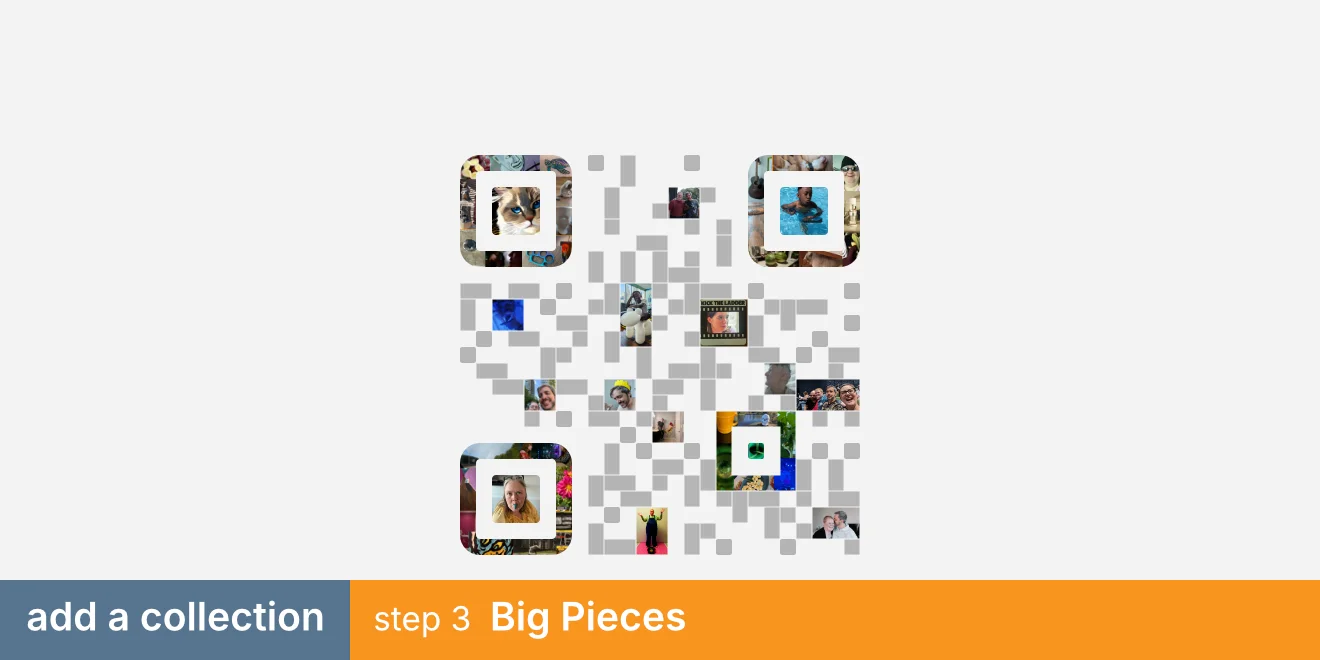
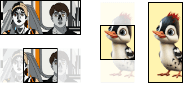
Pick 20 to 40 photos that you want to feature. If possible, they will be displayed at a larger size. When you upload them, you can choose how they will be cropped to best match the image. For instance, Kermit below looks good with a square crop and a 3×2 crop but the 2×1 crop cuts off his head in an awkward manner. These big pieces are given priority and are placed as large as possible. For instance, an image marked as square might be placed as 3×3 cells. An image marked as 2×1 might be placed as 4×2 cells. Pieces are given priority by their order. If a big piece cannot be placed at a large size, it will still be included at a smaller size (a square image will still show up as a 1×1 if it cannot be placed as 3×3 or 2×2).
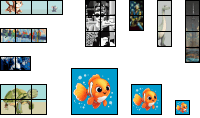
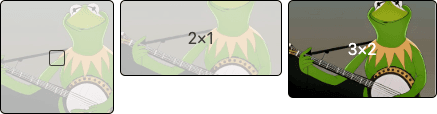
The Big Pieces section is particularly appropriate for images that are very wide (4×1, 3×1) or very tall (1×3, 1×4). These more extreme aspect ratios work well for panoramas, tall buildings, etc.
Step 4: Small Pieces
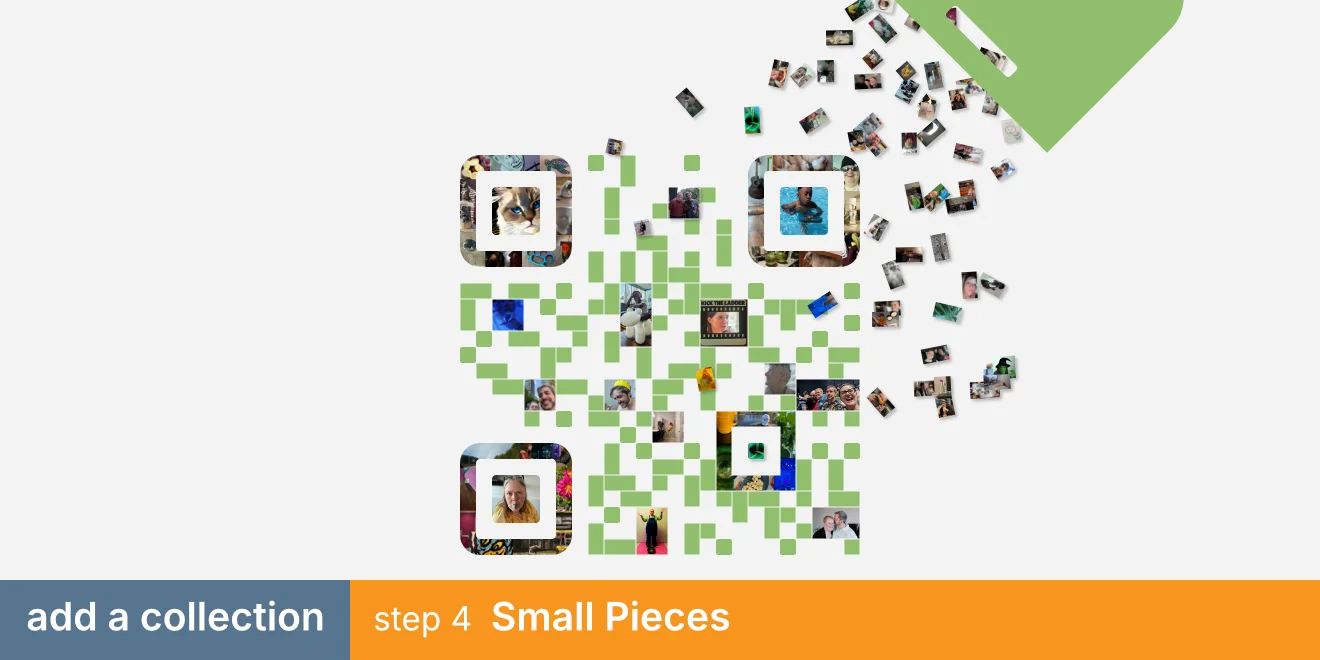
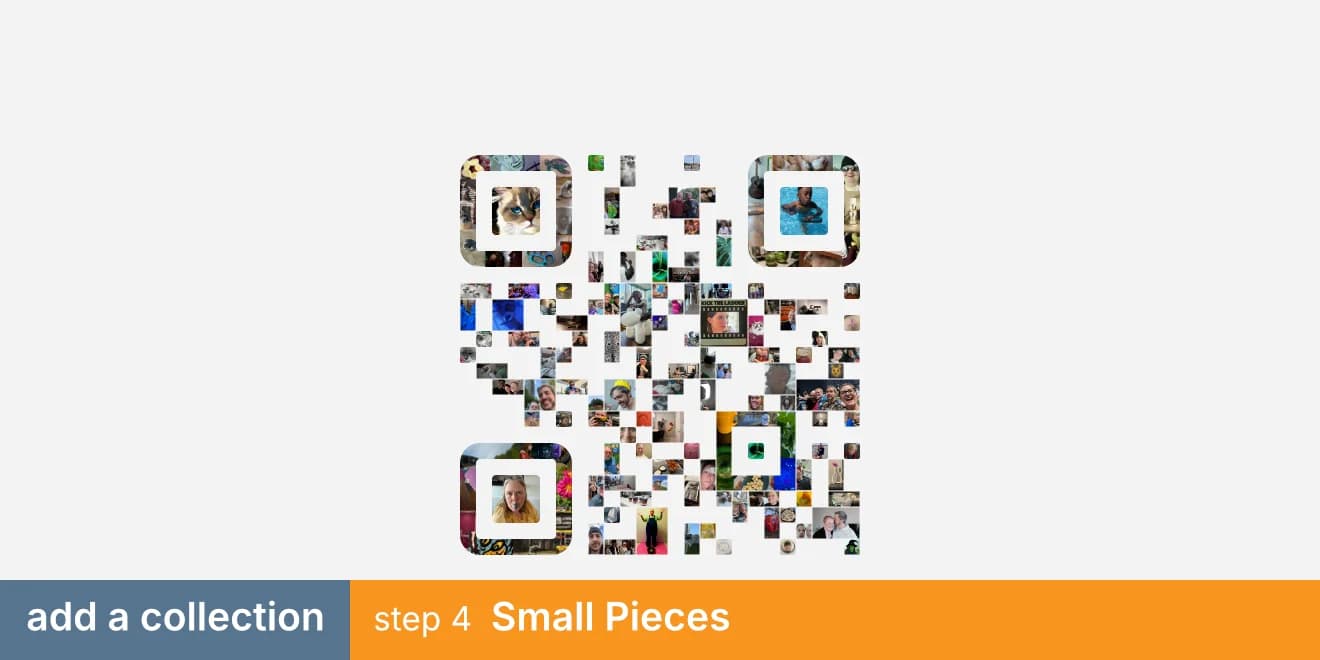
For the secondary photos, the process is similar but you only have the choice of cropping them to be square (1×1) or double (either a 2×1 landscape or 1×2 portrait based on the aspect ratio of the image). The interface makes it easy to preview / select cropping and add / delete pieces. Add a bunch of images and keep the ones that look good at those aspect ratios.
Step 5: Save Your Collection
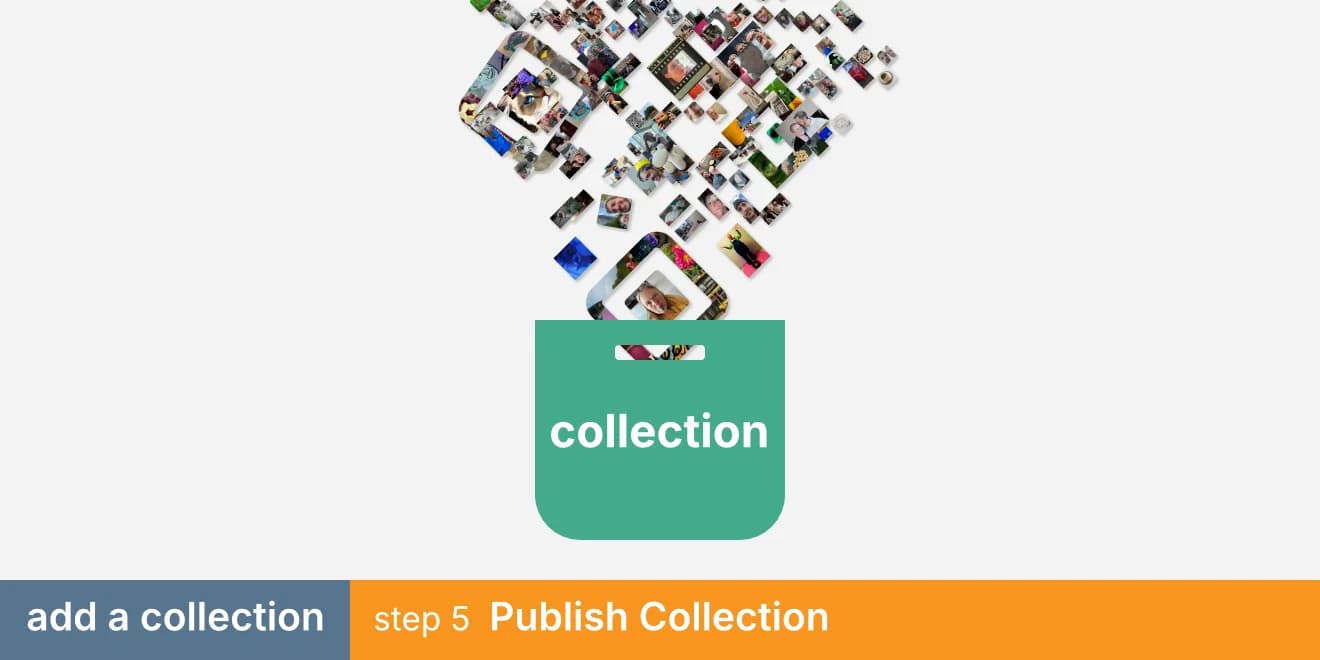
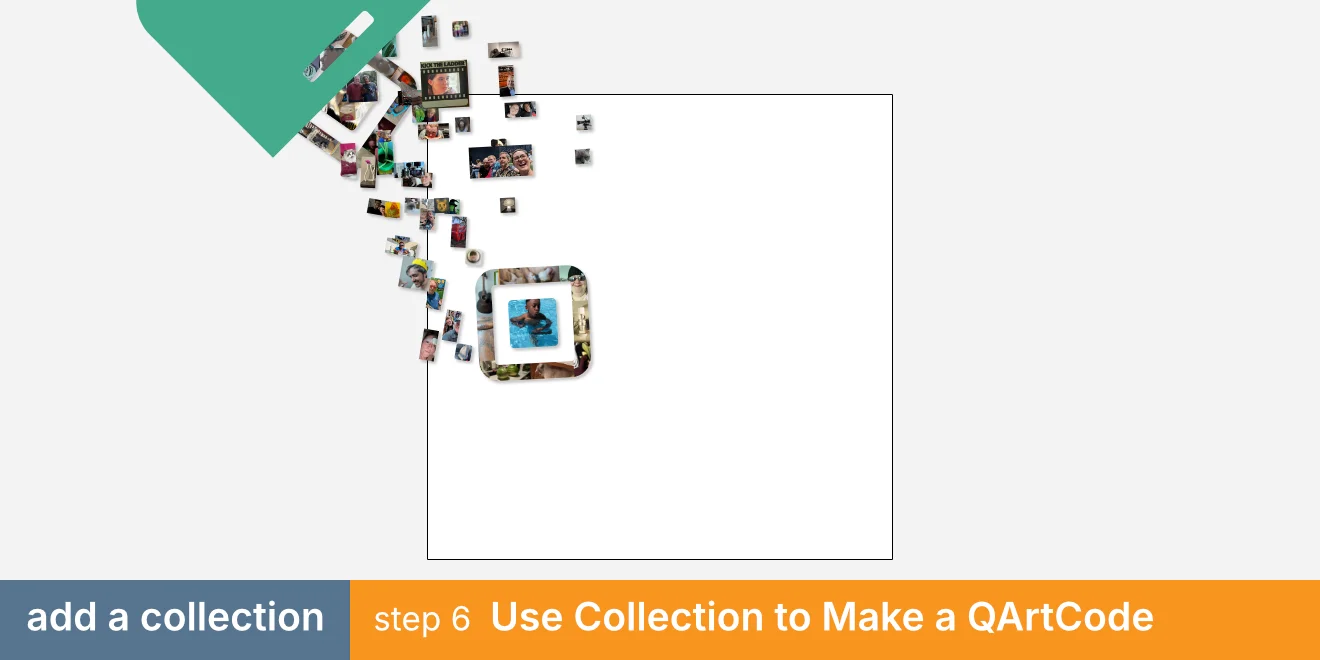
You can save your collection at any point, even if some sections are not completely filled; you only need at least one square piece. Once saved, use it to make a QArtCode. You might find small issues, like a single piece that would work better as a double, or that you have room for more big pieces. You can edit your collection to address these issues. Share it to let others contribute. Once you are satisfied, proceed with a purchase.